
Blog
Correct Candle Burning Guide

As you may already know, we always recommend that you do your own burning tests when making your candles. This process is very important as it allows you to evaluate the performance of your wax throughout its combustion. This way, you’ll be sure that your candle burns at a normal rate, gives off its aroma in the right way, doesn’t produce an excessive amount of smoke and is safe. The type of wax, the type of wick, the diameter of the container you use are all characteristics that affect the burning of your wax. The same applies to the quantity and quality of the aromatic oils and colours you add.
In this guide we will show you how to do a proper burn test to ensure that your candles are burning correctly.
You will need:
- A finished wax, which you have left to set for at least 24 hours.
- A pair of scissors
- A ruler
- A camera or your mobile phone camera to take pictures.
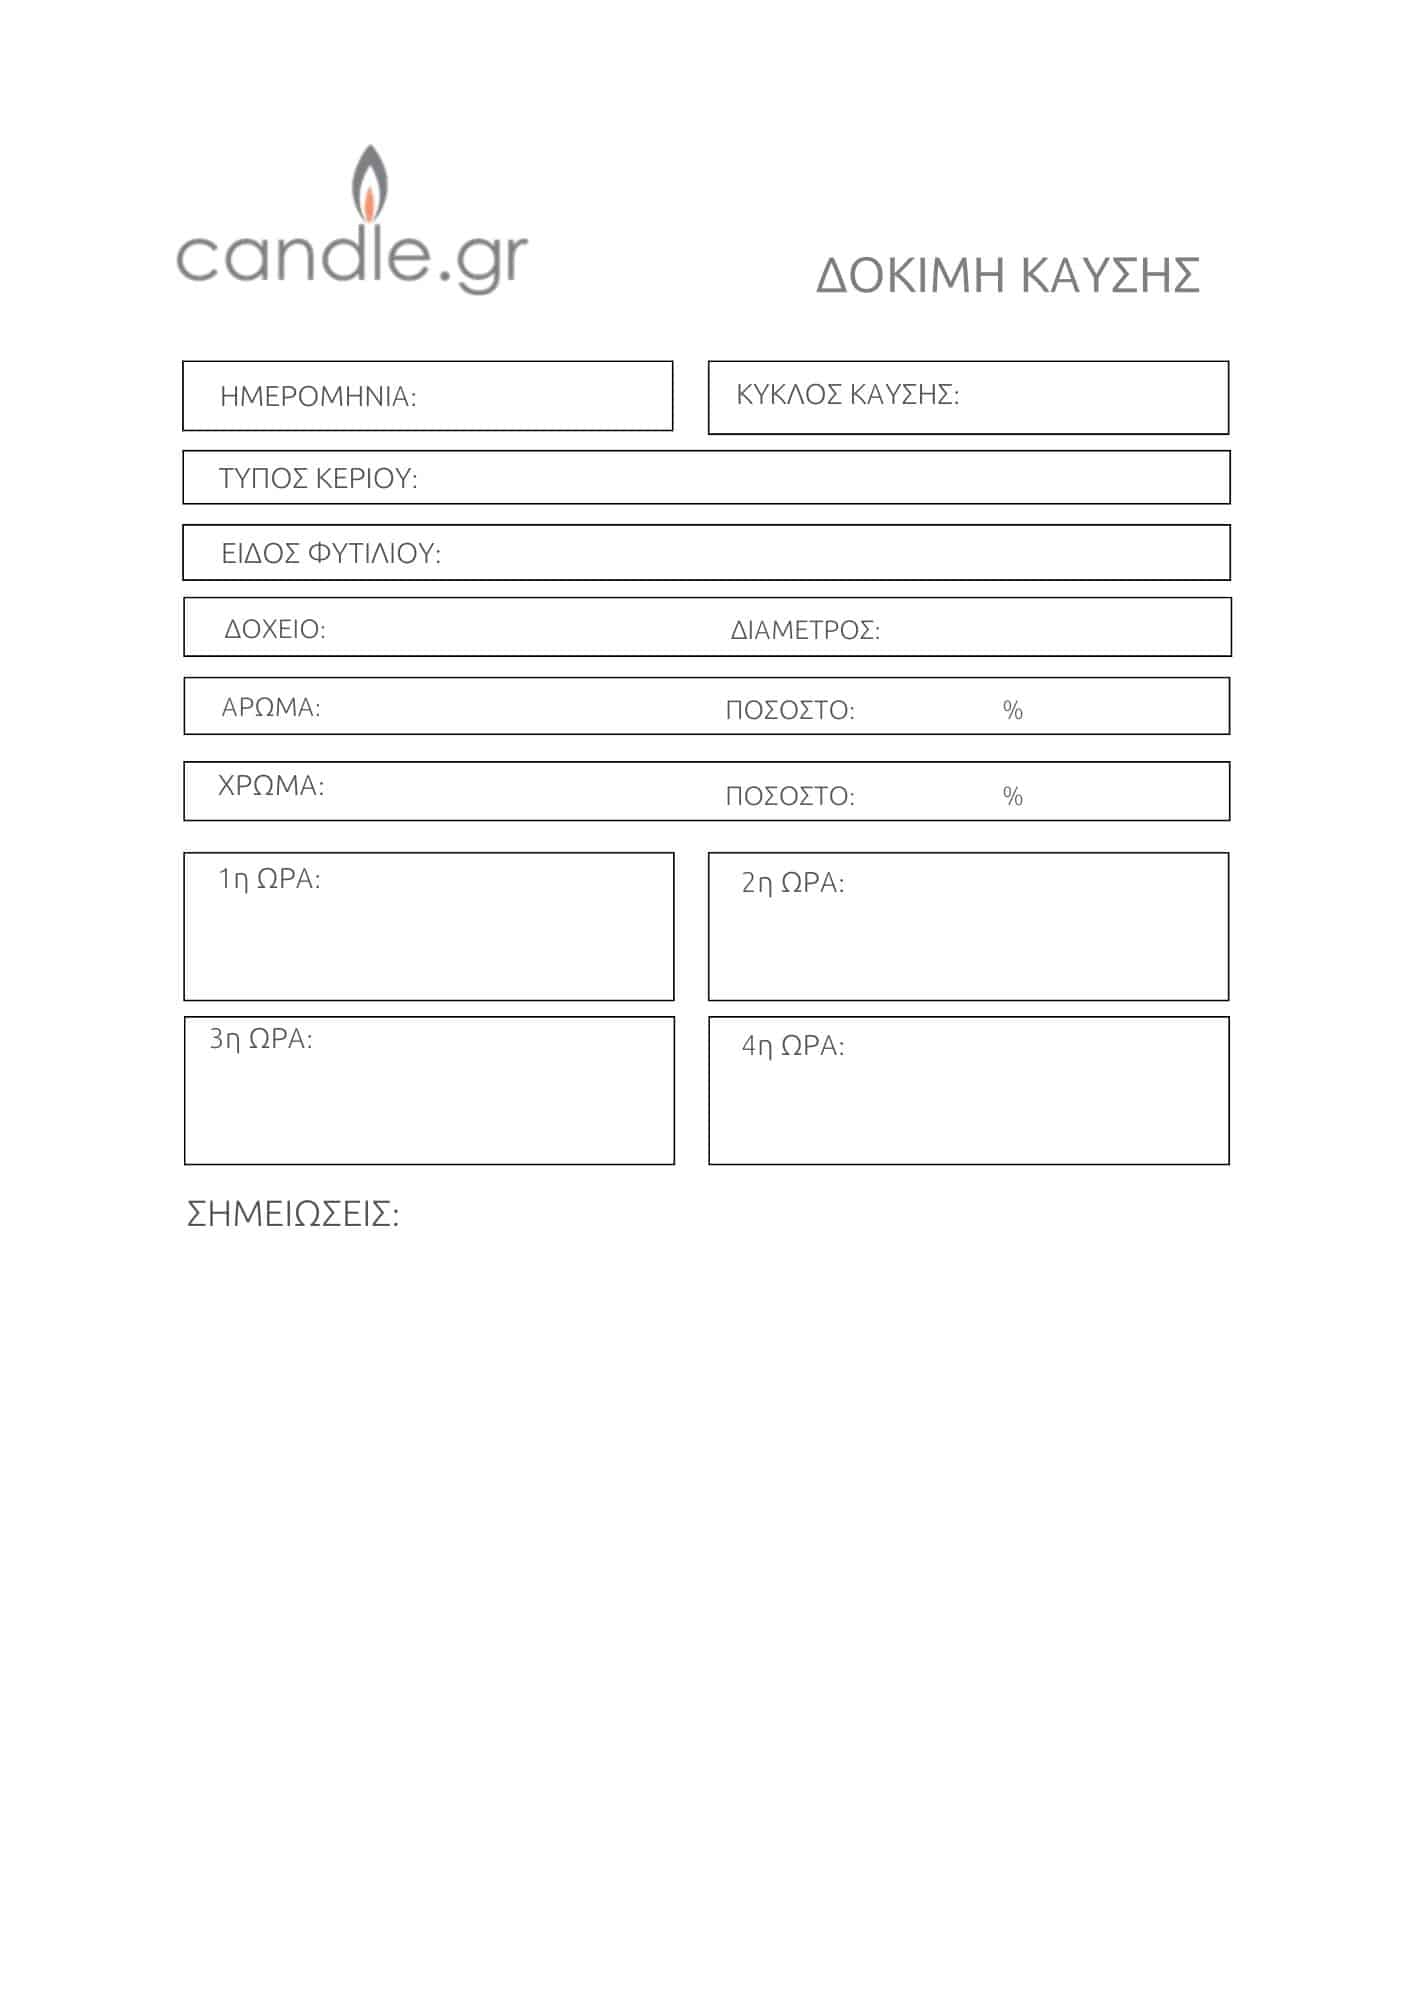
- Notepad to record your observations – You can download the Notepad of candle.gr
HERE!
Combustion test:
- Find the right place and the right time.
To carry out a successful burn test, you will need to supervise your candle throughout the process. Place your candle in a place where there is no draught, on a stable and heat-resistant surface.
- Take notes.
Note the type of wax, the type of wick, the diameter of your container, the fragrance oil you used, the colour and in what quantity.
- Cut the wick.
Measure your wick with the ruler and cut your wick with a pair of sharp scissors. If your wax is soy wax, cut it to 0.5 cm. If your wax is paraffin wax, then cut it to 0.8 cm. Always cut the wick before lighting your candle!
- Light your candle.
After you light your candle, you should check it every hour and record your observations. You can set your phone’s timer to alert you every hour to make sure you don’t forget.
- Blow out your candle, wait and repeat.
When 4 hours have passed, turn off your candle and wait at least 5 hours for it to cool completely. You have just completed a combustion cycle. From the beginning, do all the previous steps until you have 0.5 cm of wax left in your container. Remember that each combustion cycle is different, as the wax level will decrease and the temperature of the container will increase.
The points to notice:
The lake of wax.
As your candle burns, a pool of wax is created. During the first burn cycle, the wax pool should be no more than 0.5 cm from the edge of your container. If some wax remains at the edge of the container, it should have melted by the third or fourth burn cycle. The depth of the wax pool should be around 0.5 to 0.8 cm, but a slight deviation is not necessarily bad. The wax pool forms slowly during the first few combustion cycles, and as the wax level drops and the temperature rises this rate becomes faster.
Smoke.
If soy wax with the correct wick size is used then no smoke will be produced. If your candle is paraffin wax, black smoke may be produced, which is visible if your wick is not the right size. Make sure that your wick is properly trimmed to 0.5 to 0.8 cm.
The size and movement of the flame.
The expected height of most flames is between 1.5 and 2 cm. During most of the burning, the flame of your candle should be steady or flickering slightly. As the wax level drops and the temperature of the container increases, you may notice that the flame moves more. Make sure you do your testing in a spot away from air currents.
Do you have any questions? For specific answers to wax moulding questions please contact our Technical Department at e-mail: info@candle.gr